

Oreo Pudding Halloween Dirt Cups: A Spooky Treat!

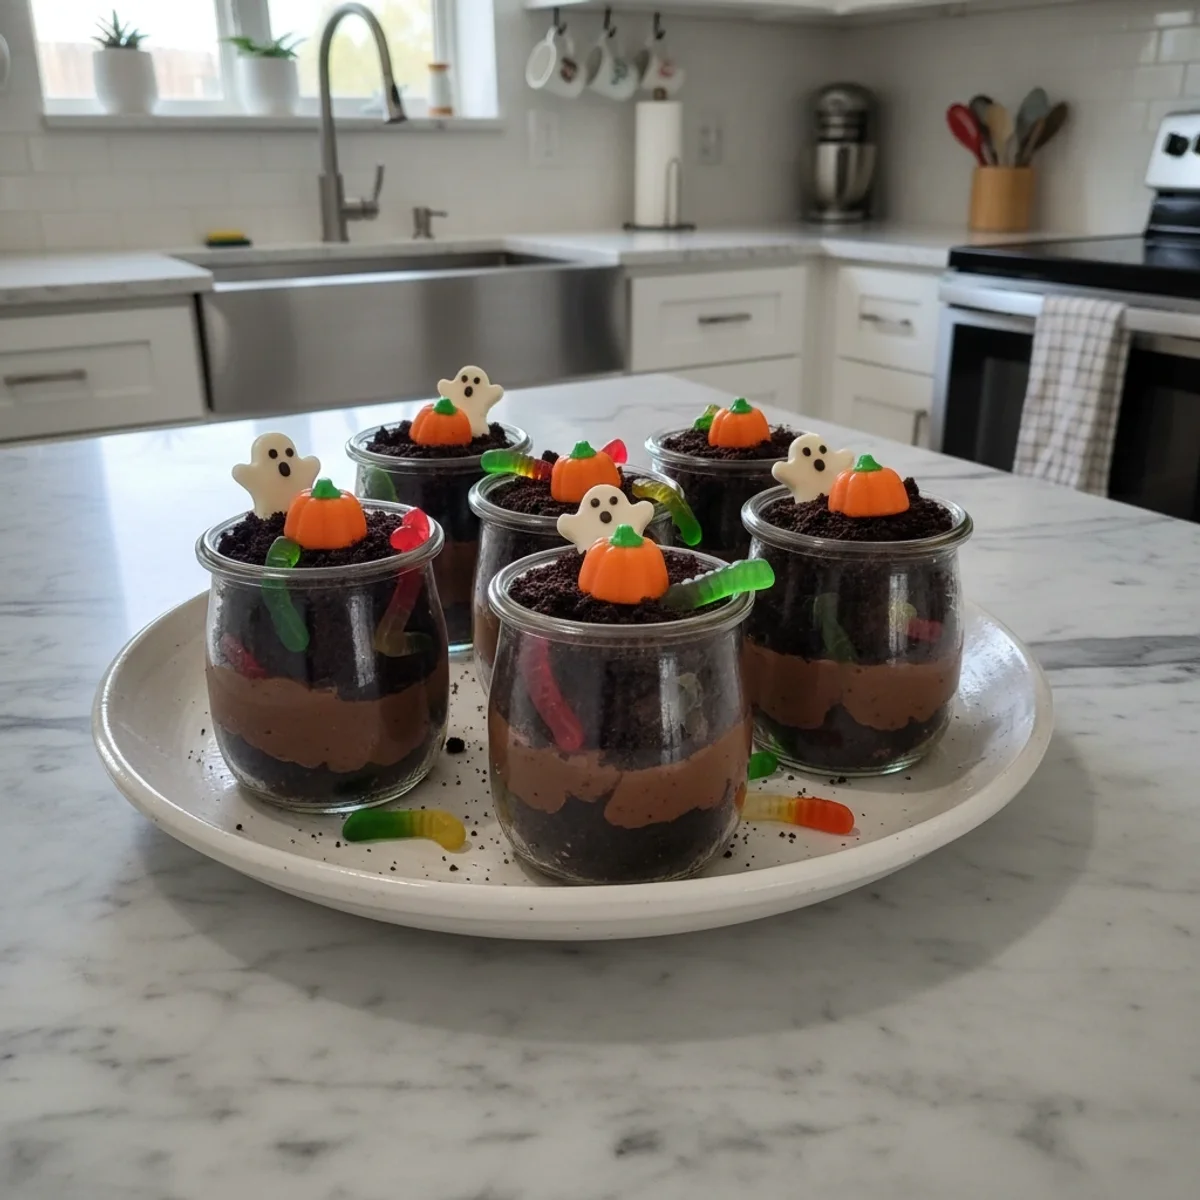
Whip up easy Oreo Pudding Halloween Dirt Cups! Layer crushed Oreos, creamy pudding, and gummy worms for a festive, no-bake treat. A hit with kids!
You know, some of my fondest Halloween memories aren't about the trick-or-treating (though, let's be real, the candy haul was important!), but about the silly, slightly spooky treats we’d make as a family. I remember one year, my little nephew, bless his heart, was terrified of anything that looked too 'real' spooky. So, we needed something fun, something that hinted at Halloween without sending him under the table. That's when my sister-in-law pulled out this recipe for Oreo Pudding Halloween Dirt Cups. Honestly, I didn't expect them to be such a hit, but the kids just went wild for them. The crunch of the 'dirt,' the creamy pudding, those wiggly gummy worms it was pure magic. It’s got that nostalgic vibe, you know? Makes me feel like a kid again every time I whip up a batch.
Oh, the first time I made these on my own, I totally messed up the pudding. I thought, 'More milk, more creamy, right?' Wrong. It turned into soup, a sad, soupy chocolate mess. My kitchen looked like a chocolate bomb went off, honestly. My dog, bless his heart, looked at me with such pity. I had to toss the whole batch and start over, reading the package directions carefully this time. Live and learn, right? Now, I always make sure the pudding is nice and thick before I even think about layering.
Ingredients for Oreo Pudding Halloween Dirt Cups
- Oreo Cookies: You need these for the 'dirt,' obviously! I swear by the original kind, the generics just don't get that same perfect crumble. Don't use the Double Stuffed ones unless you want a sweeter, slightly gooier 'dirt' which, hey, could be your thing.
- Instant Chocolate Pudding Mix: Jell-O brand is my go-to for this, it sets up so reliably. I tried a store-brand once, and it was a bit grainy, kinda disappointing. Go for two small boxes, or one large.
- Whole Milk: Please, for the love of all that is creamy, use whole milk. I tried 2% once, thinking I was being 'healthier,' and the pudding was just… thinner, less luxurious. It's a dessert, let's not pretend it's a salad, okay?
- Whipped Topping (like Cool Whip): This lightens up the pudding, giving it that cloud-like texture. Don't try to substitute with actual whipped cream unless you're serving it immediately, it tends to deflate a bit too quickly for these cups.
- Butter: A little melted butter helps bind the Oreo crumbs for an even richer 'dirt' layer. I once forgot this step, and the dirt just flew everywhere. My kitchen looked like a dust bowl!
- Gummy Worms & Candy Pumpkins: These are for the spooky-cute factor! Honestly, any gummy creepy-crawlies work. I've used candy corn, spider rings, you name it. It's all about making it fun and a little gross, in the best way.
Assembling Your Oreo Pudding Halloween Dirt Cups
- Step One: Crush the 'Dirt'
- First things first, let's get that glorious 'dirt' ready! Grab your Oreo cookies the whole package, cream and all. Pop them into a food processor and pulse until they're finely crushed. You want them to look like dark, rich soil, no big chunks. If you don't have a food processor, a Ziploc bag and a rolling pin work just as well, though it's a bit more of a workout. I always make a bit extra, because, honestly, who doesn't love a little extra 'dirt' on top? Melt your butter and mix it into the crushed Oreos. It helps the 'dirt' stick together and just makes it taste richer. Don't skip this, I learned that the hard way when my 'dirt' was too dry.
- Step Two: Whip Up the Pudding
- Next, let's tackle the star of the show: the chocolate pudding! In a large bowl, whisk together the instant chocolate pudding mix and the cold whole milk. Whisk it good, for about two minutes, until it starts to thicken. You'll feel it, trust me. It should be getting nice and creamy, not soupy. This is where I almost always get impatient and stop too soon, only to have runny pudding later. Don't be like me! Let it sit for a few minutes to really firm up. Once it's thick, gently fold in about half of your whipped topping. This makes the pudding lighter and fluffier, like a cloud. Oh, the smell of that chocolate goodness starting to come together? Pure comfort.
- Step Three: Layering Begins!
- Now for the fun part assembling your Oreo Pudding Halloween Dirt Cups! Get your serving cups ready, clear ones are best so you can see all those lovely layers. Start with a spoonful or two of your crushed Oreo 'dirt' at the bottom of each cup. Press it down gently. Then, spoon a generous layer of your chocolate pudding mixture over the 'dirt.' Try to make it somewhat even, but honestly, a little messiness just adds to the 'dirt' aesthetic, right? This is where the magic starts to happen, seeing those distinct layers form.
- Step Four: More Pudding, More Dirt
- Keep going with the layers! Add another layer of crushed Oreos over the pudding. Then, another layer of that creamy chocolate pudding. You're building your little edible ecosystems here! Don't be afraid to get a little messy, it's all part of the charm of these Oreo Pudding Halloween Dirt Cups. I sometimes get a bit carried away and make one cup super tall, then realize I’m short for the last one. Whoops! Just try to eyeball it for even distribution across all your cups.
- Step Five: Top with Whipped Goodness
- Once you've got your last layer of pudding in, dollop the remaining whipped topping on top of each cup. This is like the fluffy cloud layer before the final 'dirt' sprinkle. Spread it out gently to create a nice, smooth surface. It’s okay if it’s not perfectly smooth, we’re going for rustic, spooky charm here, not a fancy patisserie look. I always sneak a little taste of the whipped topping at this point, it's just so good!
- Step Six: The Spooky Finishing Touches
- This is where your Oreo Pudding Halloween Dirt Cups truly come to life! Sprinkle a final, generous layer of your crushed Oreo 'dirt' over the whipped topping. This is the topsoil, where all the creepy-crawlies will emerge. Then, nestle a few gummy worms into the 'dirt,' so they look like they're crawling out. Add a few candy pumpkins or other Halloween candies for extra flair. I love seeing the kids' faces when they discover the worms! Pop them in the fridge for at least 30 minutes to chill and let all those flavors meld. Trust me, cold dirt cups are the best dirt cups.
Making these always brings a smile to my face. I remember one Halloween, I was trying to photograph them for my blog, and my dog, who has a serious sweet tooth, managed to snatch a gummy worm right off a cup when my back was turned! The little thief. It was a chaotic, sticky mess, but honestly, it just added to the charm of the day. These Oreo Pudding Halloween Dirt Cups are really about those simple, joyful moments.

Making Your Oreo Pudding Halloween Dirt Cups Unique
Okay, so you want to get creative with your Oreo Pudding Halloween Dirt Cups? I love that! I've tried a few things myself. For a different flavor profile, you could totally swap out the chocolate pudding for vanilla or even a cheesecake instant pudding mix. I tried vanilla once, and it was surprisingly good, a little lighter. You could also use different kinds of cookies for the 'dirt' graham crackers crushed up work in a pinch, but honestly, Oreos are king here. For toppings, think beyond just gummy worms! I've used candy corn, mini chocolate chips, sprinkles, or even little edible sugar eyes to make them extra spooky. One time, I crumbled some green food-colored coconut on top to look like moss. It worked... kinda. The kids thought it was weird but ate it anyway!
Serving Up Your Spooky Dirt Cups
These Oreo Pudding Halloween Dirt Cups are just begging to be served at a Halloween party, obviously! But honestly, they're perfect for so many other occasions too. A casual weeknight dessert after a particularly long day? Yes, please. A fun treat for a movie night with the family? Absolutely. I love serving them in clear glass jars or small tumblers so you can really appreciate those beautiful layers. Pair them with a simple glass of cold milk, or if you're feeling fancy, a mug of warm apple cider on a crisp autumn evening. These and a good spooky movie are my idea of a perfect night in. They bring a bit of childlike wonder to any table, and that, my friend, is a serving suggestion I can always get behind.
The Fun Backstory of Dirt Cups
Dirt cups, or 'dirt and worms,' as many of us grew up calling them, don't really have a deep, ancient cultural backstory like some recipes. They're a relatively modern, fun invention that really took off in the late 20th century, especially popular at kids' parties and potlucks. The genius of them is their simplicity and the playful visual appeal. For me, they connect directly to childhood birthday parties and school events, where someone's mom would always bring a big bowl of this 'dirt' dessert. It was always the first thing to disappear! The idea of making something look like dirt and adding creepy-crawlies just perfectly captures that innocent, playful side of childhood and Halloween. It's a reminder that food doesn't always have to be serious, sometimes, it just needs to be fun and make you smile.
There you have it, my friend. These Oreo Pudding Halloween Dirt Cups are more than just a dessert, they're a little cup of joy, a tiny bit of spooky fun, and a whole lot of deliciousness. Every time I make them, I think of those silly, sweet Halloween memories. I hope they bring a bit of that same magic to your kitchen. Don't forget to share your own dirt cup creations with me!

Frequently Asked Questions About Oreo Pudding Halloween Dirt Cups
- → Can I use sugar-free pudding or cookies?
Yes, you can! I've tried it with sugar-free pudding and cookies, and they still turn out great. The texture is pretty similar, though the flavor is obviously a bit different. Worth a try if you're watching sugar!
- → How can I make these dairy-free?
Good question! You can use plant-based milk (like almond or oat milk) for the pudding, and dairy-free whipped topping. Just make sure your Oreos are dairy-free too, some varieties aren't. I've done it, and it works pretty well!
- → My pudding isn't setting, what went wrong?
Oh, that's happened to me! Usually, it's because the milk wasn't cold enough, or you didn't whisk it long enough. Make sure to use ice-cold milk and whisk for the full two minutes. Sometimes, humidity can affect it too, honestly.
- → Can I make these ahead for a party?
Absolutely! These are a fantastic make-ahead dessert. You can assemble them a day or two in advance. Just hold off on adding the gummy worms until right before serving to keep them from getting too hard or mushy. They chill beautifully!
- → What if I don't have individual cups?
No worries at all! I've made these in a large trifle bowl or even a 9x13 inch baking dish. Just layer everything as usual. It's still super fun to scoop out, though you lose a bit of the individual presentation. Still delicious!
Oreo Pudding Halloween Dirt Cups: A Spooky Treat!
Whip up easy Oreo Pudding Halloween Dirt Cups! Layer crushed Oreos, creamy pudding, and gummy worms for a festive, no-bake treat. A hit with kids!
Ingredients
Dirt Layer Essentials
- 1 (14.3 oz) package Oreo cookies
- 1/4 cup unsalted butter, melted
Creamy Pudding Base
- 2 (3.9 oz) packages instant chocolate pudding mix
- 3 cups cold whole milk
- 1 (8 oz) container whipped topping, thawed (like Cool Whip)
Spooky Toppings
- 1 (5 oz) package gummy worms
- Candy pumpkins or other Halloween-themed candies
Instructions
-
1Crush the 'Dirt'First things first, let's get that glorious 'dirt' ready! Grab your Oreo cookies - the whole package, cream and all. Pop them into a food processor and pulse until they're finely crushed. You want them to look like dark, rich soil, no big chunks. If you don't have a food processor, a Ziploc bag and a rolling pin work just as well, though it's a bit more of a workout. I always make a bit extra, because, honestly, who doesn't love a little extra 'dirt' on top? Melt your butter and mix it into the crushed Oreos. It helps the 'dirt' stick together and just makes it taste richer. Don't skip this, I learned that the hard way when my 'dirt' was too dry.
-
2Whip Up the PuddingNext, let's tackle the star of the show: the chocolate pudding! In a large bowl, whisk together the instant chocolate pudding mix and the cold whole milk. Whisk it good, for about two minutes, until it starts to thicken. You'll feel it, trust me. It should be getting nice and creamy, not soupy. This is where I almost always get impatient and stop too soon, only to have runny pudding later. Don't be like me! Let it sit for a few minutes to really firm up. Once it's thick, gently fold in about half of your whipped topping. This makes the pudding lighter and fluffier, like a cloud. Oh, the smell of that chocolate goodness starting to come together? Pure comfort.
-
3Layering Begins!Now for the fun part - assembling your Oreo Pudding Halloween Dirt Cups! Get your serving cups ready, clear ones are best so you can see all those lovely layers. Start with a spoonful or two of your crushed Oreo 'dirt' at the bottom of each cup. Press it down gently. Then, spoon a generous layer of your chocolate pudding mixture over the 'dirt.' Try to make it somewhat even, but honestly, a little messiness just adds to the 'dirt' aesthetic, right? This is where the magic starts to happen, seeing those distinct layers form.
-
4More Pudding, More DirtKeep going with the layers! Add another layer of crushed Oreos over the pudding. Then, another layer of that creamy chocolate pudding. You're building your little edible ecosystems here! Don't be afraid to get a little messy, it's all part of the charm of these Oreo Pudding Halloween Dirt Cups. I sometimes get a bit carried away and make one cup super tall, then realize I’m short for the last one. Whoops! Just try to eyeball it for even distribution across all your cups.
-
5Top with Whipped GoodnessOnce you've got your last layer of pudding in, dollop the remaining whipped topping on top of each cup. This is like the fluffy cloud layer before the final 'dirt' sprinkle. Spread it out gently to create a nice, smooth surface. It’s okay if it’s not perfectly smooth, we’re going for rustic, spooky charm here, not a fancy patisserie look. I always sneak a little taste of the whipped topping at this point, it's just so good!
-
6The Spooky Finishing TouchesThis is where your Oreo Pudding Halloween Dirt Cups truly come to life! Sprinkle a final, generous layer of your crushed Oreo 'dirt' over the whipped topping. This is the topsoil, where all the creepy-crawlies will emerge. Then, nestle a few gummy worms into the 'dirt,' so they look like they're crawling out. Add a few candy pumpkins or other Halloween candies for extra flair. I love seeing the kids' faces when they discover the worms! Pop them in the fridge for at least 30 minutes to chill and let all those flavors meld. Trust me, cold dirt cups are the best dirt cups.
Notes
Always use *cold* milk for instant pudding; it helps it set faster and thicker.
Chilling time is not optional! It lets the flavors develop and the layers firm up beautifully.
For the best gummy worm texture, add them right before serving.
Try a bit of green food coloring in some pudding for a 'slime' layer; kids love it!
Equipment
Please check ingredients for potential allergens and consult a health professional if in doubt.
Nutrition Facts
It is important to consider this information as approximate and not to use it as definitive health advice.
Comments
Leave a Comment