


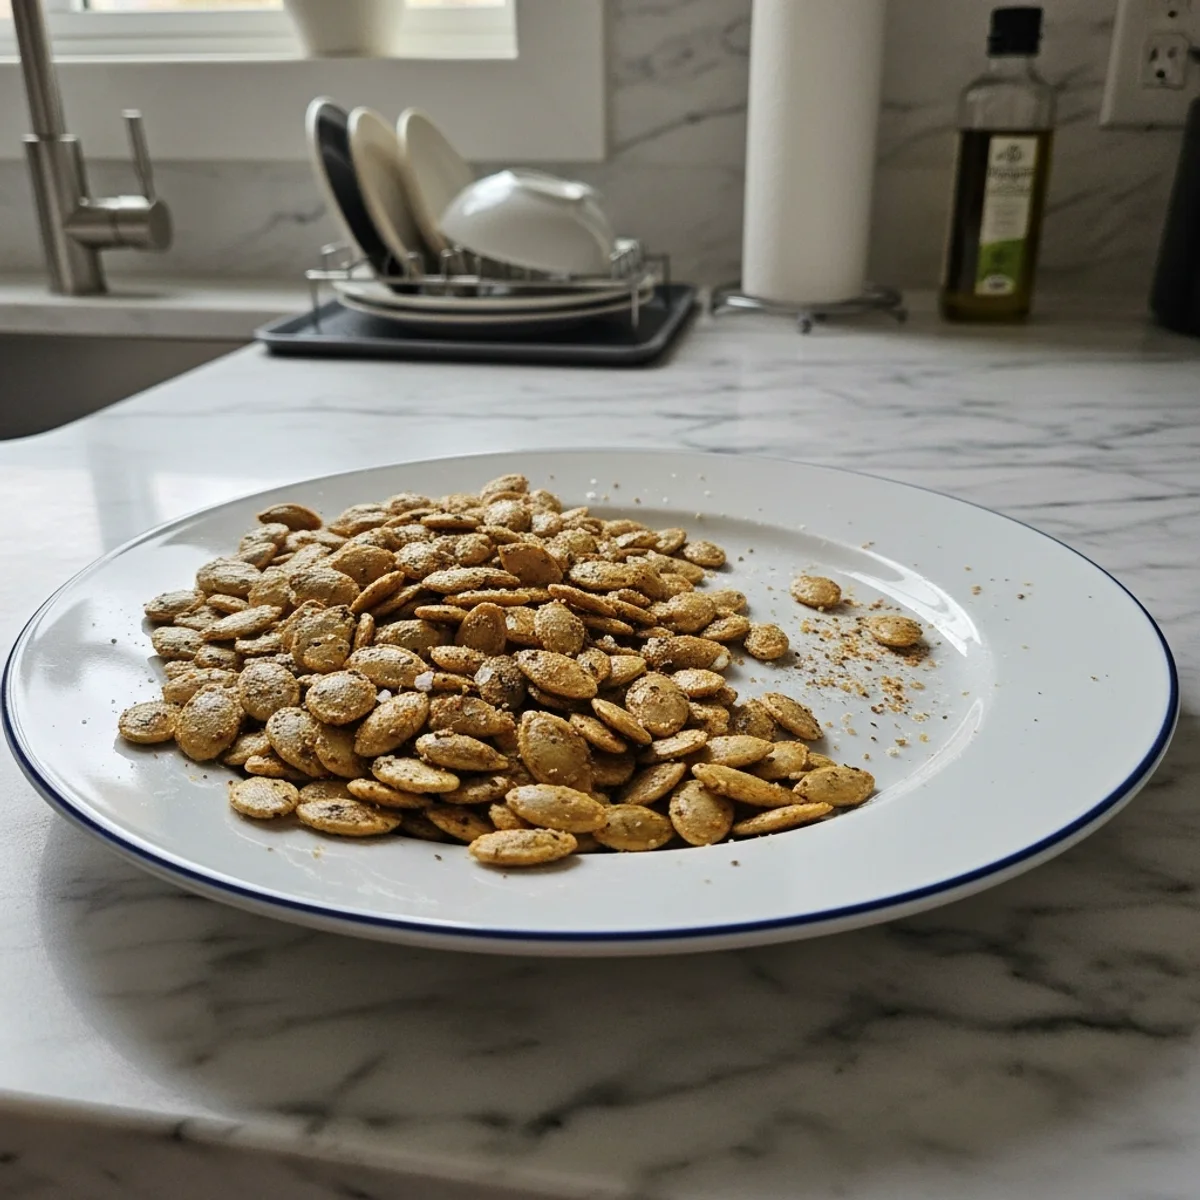
Crispy Baked Pumpkin Seeds Snack is easy! Turn your pumpkin guts into a crunchy, flavorful treat. Perfect for fall, these roasted seeds are a delightful, healthy bite.
I remember the first time I actually saved the pumpkin seeds. It was a chaotic Halloween, carving pumpkins with my little ones, and I was honestly about to toss the slimy mess. But then my grandma, Mama Rose, who always had a knack for turning nothing into something delicious, looked at me with that twinkle in her eye. "Tessa, those aren't trash, they're treasure!" She showed me her simple trick for a crispy, savory baked pumpkin seeds snack. The smell of cinnamon and a hint of salt baking in the oven still brings me right back to that cozy, messy kitchen. It’s a little piece of autumn magic, honestly.
Oh, the first time I tried to make these without properly cleaning them. Let's just say my "crispy" pumpkin seeds had a rather… stringy texture. My husband still teases me about the "pumpkin floss" incident. You learn pretty quickly that a little extra rinsing goes a long way. But hey, that’s part of the fun, right? Kitchen adventures are rarely perfectly smooth sailing!
Ingredients for Baked Pumpkin Seeds Snack
- Pumpkin Seeds, raw: These are the stars, obviously! Don't use the pre-packaged ones, just don't. The fresh ones from your carving pumpkins have so much more character and a better texture when you bake them.
- Olive Oil: Just a drizzle, helps everything crisp up beautifully and carries the flavors. I've tried butter, but honestly, olive oil gives a lighter, more even coat for this delightful snack.
- Sea Salt: A good pinch is essential. It really brings out the natural nuttiness of the seeds. I'm a fan of flaky sea salt for that extra little burst of brininess.
- Cinnamon: A warm hug in spice form. It pairs so well with pumpkin and makes the whole house smell incredible. I always add a generous amount, honestly, you can't really overdo it here.
- Nutmeg: Just a whisper! Too much and it can be overpowering, but a little bit adds that classic fall depth. I tried it once with mace, and it worked... kinda, but nutmeg is my go-to.
- Brown Sugar: For that touch of caramelized sweetness that makes these feel like a real treat. Maple syrup works too, but brown sugar gives a lovely crust.
- Cayenne Pepper (optional): My secret weapon! Just a tiny dash gives a little kick that balances the sweetness. I didn't expect that it would work so well, but it's a game-changer.
How to Make Baked Pumpkin Seeds Snack
- Clean Those Seeds, Really:
- First things first, you've got to liberate those seeds from the pumpkin pulp. I usually scoop them into a colander, then rinse them under cold water while pulling off all those stringy bits. This is where I always get pumpkin goo everywhere, but it's worth it! You want them as clean as possible for the crispiest results.
- Boil 'Em Up (My Little Secret):
- Now, this step is crucial for truly crispy seeds. Toss the clean pumpkin seeds into a pot of salted boiling water for about 10 minutes. This pre-cooks them slightly, making them more tender inside and ensuring they get super crunchy when baked. I learned this trick from an old cookbook, and honestly, it makes all the difference for your perfect snack!
- Dry, Dry, Dry (Don't Skip This!):
- After their little bath, drain the seeds really well. Then, spread them out on a clean kitchen towel and pat them super dry. This is where many folks (including past me, oops!) mess up. Any moisture left will steam them instead of letting them bake up nice and golden. You want them dry enough that they almost squeak, to be real.
- A Little Oil, A Lot of Love:
- Transfer those dry seeds to a baking sheet lined with parchment paper. Drizzle them with the olive oil and give them a good toss to ensure every single seed is lightly coated. This step is where the magic starts to happen, creating that perfect base for our flavors. It makes all the difference for a fantastic baked pumpkin seeds snack.
- Spice It Up, Your Way:
- In a small bowl, whisk together the sea salt, cinnamon, nutmeg, brown sugar, and cayenne pepper (if you're feeling spicy!). Sprinkle this glorious mix over the oiled pumpkin seeds on the baking sheet. Use your hands to really get in there and make sure every seed is covered. Don't be shy, this is where the flavor truly comes alive and contributes to a delicious baked pumpkin seeds snack.
- Bake 'Em Till They're Golden:
- Pop that baking sheet into a preheated oven at 300°F (150°C). Let them bake for about 20-30 minutes, stirring them every 10 minutes or so to ensure even toasting. You're looking for a beautiful golden-brown color and a distinct crunch. The whole kitchen will smell like autumn! Once they cool, you've got a fantastic crunchy treat.
My kids love helping with this recipe, especially the "spice dust" part. One time, my youngest decided more cayenne was always better. We ended up with a rather fiery batch that day, which was an interesting surprise! We still laugh about our "spicy surprise seeds." It’s these little kitchen mishaps that make cooking so memorable, don't you think?
Crispy Baked Pumpkin Seeds Snack Storage
These crispy baked pumpkin seeds snack bites are best enjoyed within a few days, honestly. I usually store them in an airtight container on the counter. I tried putting them in the fridge once, and they got a little soft, which was a bummer so don't do that lol. They hold up pretty well for about 3-4 days, maintaining most of their crunch. If they do soften, a quick 5-minute bake at 250°F (120°C) can sometimes bring back some of their crispness. Just make sure they're completely cool before storing, or condensation will ruin all your hard work!

Ingredient Substitutions
Oh, I've experimented with so many versions of this treat! If you're not a fan of brown sugar, a little maple syrup works wonders, though it can make them a bit stickier. For a savory twist, I've swapped the cinnamon and nutmeg for garlic powder, onion powder, and a pinch of smoked paprika it worked... kinda, and was super tasty! You could also try different oils, coconut oil gives a lovely subtle sweetness. And honestly, play around with the spices! Rosemary and thyme are surprisingly good for a more herbaceous feel, creating a unique baked pumpkin seeds snack.
Serving Suggestions
These crispy roasted seeds are fantastic on their own, especially with a warm mug of apple cider on a chilly evening. But don't stop there! Sprinkle them over a fall salad for an amazing crunch, or use them as a topping for a creamy pumpkin soup. I even throw them into my morning oatmeal for extra texture and flavor. My absolute favorite? A handful with a good book and a cozy blanket pure bliss! They're also a great addition to a cheese board for some unexpected texture, making this a versatile baked pumpkin seeds snack.
Cultural Backstory
Roasting pumpkin seeds is definitely not a new idea, it's a tradition that stretches back centuries, especially in indigenous cultures across the Americas where pumpkins have always been a staple. For me, it became a cherished autumn ritual passed down from my grandma, Mama Rose. She always said it was a way to honor the pumpkin, using every part of it. It’s more than just a recipe, it’s a connection to heritage, to resourceful cooking, and to those crisp fall days spent with family, creating a simple, delicious snack.
There's something so satisfying about taking something that might have been discarded and turning it into this delicious, crunchy treat. It's a little reminder that beauty and flavor can be found in the simplest things, especially during autumn. I hope you give these a try and make them your own. Let me know what spice combinations you come up with for your own baked pumpkin seeds snack! Happy snacking, friends!

Baked Pumpkin Seeds Snack FAQs
- → Can I use pre-packaged pumpkin seeds for this recipe?
Honestly, you can, but the texture won't be quite the same. The ones fresh from the pumpkin have a slightly softer shell that toasts up perfectly. Pre-packaged ones tend to be a bit tougher, but they'll still work in a pinch if you're craving a quick snack.
- → What if my pumpkin seeds aren't getting crispy enough?
Oh, I've been there! The biggest culprit is usually moisture. Make sure you've dried them really well after boiling. Also, check your oven temperature and don't overcrowd the pan. A little extra baking time might also do the trick for your crispy seeds.
- → Can I make this Baked Pumpkin Seeds Snack savory instead of sweet?
Absolutely! Skip the brown sugar, cinnamon, and nutmeg. Instead, try garlic powder, onion powder, paprika, or even a dash of cumin. I once did a rosemary and sea salt version that was surprisingly good for a savory crunch!
- → How long do these Baked Pumpkin Seeds Snack last?
They're best within 3-4 days in an airtight container at room temperature. After that, they tend to lose some of their crunch. I usually make a smaller batch so we can enjoy them fresh, but they rarely last that long in my house!
- → Any tips for getting all the stringy bits off the pumpkin seeds?
It's a messy job, but someone's gotta do it! I find that rinsing them in a colander under running water while rubbing them vigorously helps a lot. You can also try soaking them in water for a bit, which makes the pulp easier to separate before preparing your delicious snack.
Crispy Baked Pumpkin Seeds Snack: Autumn's Simple Joy
Crispy Baked Pumpkin Seeds Snack is easy! Turn your pumpkin guts into a crunchy, flavorful treat. Perfect for fall, these roasted seeds are a delightful, healthy bite.
Ingredients
Garden Treasures
- 2 cups raw pumpkin seeds, fresh from a carving pumpkin
Oil & Salt
- 1 tbsp olive oil
- 1/2 tsp sea salt (or to taste)
Sweet & Spicy Dust
- 1/2 tsp ground cinnamon
- 1/4 tsp ground nutmeg
- 1 tbsp brown sugar, packed
- 1/8 tsp cayenne pepper (optional, for a kick)
Instructions
-
1Clean Those Seeds, Really:First things first, you've got to liberate those seeds from the pumpkin pulp. I usually scoop them into a colander, then rinse them under cold water while pulling off all those stringy bits. This is where I always get pumpkin goo everywhere, but it's worth it! You want them as clean as possible for the crispiest results.
-
2Boil 'Em Up (My Little Secret):Now, this step is crucial for truly crispy seeds. Toss the clean pumpkin seeds into a pot of salted boiling water for about 10 minutes. This pre-cooks them slightly, making them more tender inside and ensuring they get super crunchy when baked. I learned this trick from an old cookbook, and honestly, it makes all the difference for your perfect snack!
-
3Dry, Dry, Dry (Don't Skip This!):After their little bath, drain the seeds really well. Then, spread them out on a clean kitchen towel and pat them super dry. This is where many folks (including past me, oops!) mess up. Any moisture left will steam them instead of letting them bake up nice and golden. You want them dry enough that they almost squeak, to be real.
-
4A Little Oil, A Lot of Love:Transfer those dry seeds to a baking sheet lined with parchment paper. Drizzle them with the olive oil and give them a good toss to ensure every single seed is lightly coated. This step is where the magic starts to happen, creating that perfect base for our flavors. It makes all the difference for a fantastic baked pumpkin seeds snack.
-
5Spice It Up, Your Way:In a small bowl, whisk together the sea salt, cinnamon, nutmeg, brown sugar, and cayenne pepper (if you're feeling spicy!). Sprinkle this glorious mix over the oiled pumpkin seeds on the baking sheet. Use your hands to really get in there and make sure every seed is covered. Don't be shy, this is where the flavor truly comes alive and contributes to a delicious baked pumpkin seeds snack.
-
6Bake 'Em Till They're Golden:Pop that baking sheet into a preheated oven at 300°F (150°C). Let them bake for about 20-30 minutes, stirring them every 10 minutes or so to ensure even toasting. You're looking for a beautiful golden-brown color and a distinct crunch. The whole kitchen will smell like autumn! Once they cool, you've got a fantastic crunchy treat.
Notes
Really, truly dry those seeds after boiling and rinsing; moisture is the enemy of crispiness!
Don't overcrowd your baking sheet; give the seeds space to breathe and get crunchy, not steamy.
Stirring halfway through baking is a must for even toasting - I learned this the hard way with burnt edges!
Equipment
Please check ingredients for potential allergens and consult a health professional if in doubt.
Nutrition Facts
It is important to consider this information as approximate and not to use it as definitive health advice.
Comments
Leave a Comment