


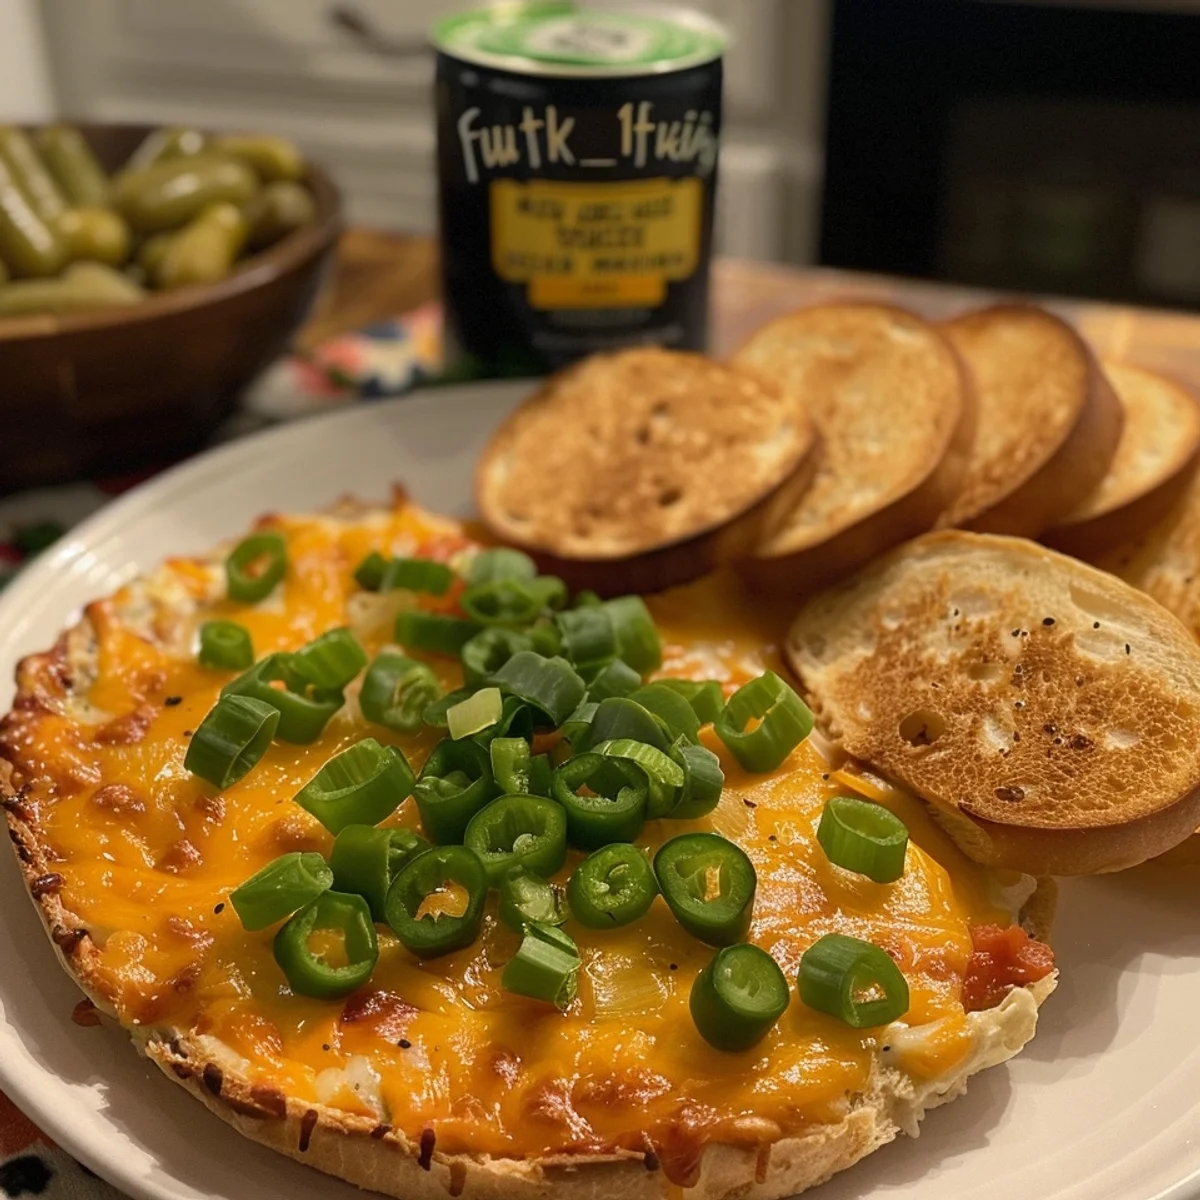
This cheesy dip is a crowd-pleaser! A warm, comforting blend of cheeses and roasted Hatch green chiles.
Oh, where do I even begin with this Cheesy Hatch Green Chile Dip? It’s a dish that’s been a staple in my kitchen for years, and honestly, I still remember the first time I made it. I was hosting a game night with friends, and I thought, "Why not impress everyone with a dip that’s just oozing with cheesy goodness?" Spoiler alert: I didn't expect it to turn out so delicious! The combination of creamy cheese and those smoky, spicy Hatch chiles was like a warm hug for my taste buds. And let me tell you, I had to run to the store to grab more chips because oops, we polished off the entire first batch way too fast!
This dip is special to me because it reminds me of cozy nights in, the laughter shared around the table, and the stories exchanged over scoops of this delightful concoction. It’s messy, cheesy, and utterly comforting, with that rich aroma wafting through the air as it bakes. You can’t help but feel at home.
Once, I thought I'd get fancy and added a bunch of spices to the mix-oops! I totally overdid it. The dip was way too spicy, and everyone was looking for the nearest water jug. Lesson learned: less is more when it comes to seasoning this beauty!
Ingredients
- Hatch Green Chiles: These smoky beauties are the star of the show! I swear by using roasted Hatch chiles; they give this dip that amazing depth. Buy them fresh, or if you’re feeling lazy like I often do, canned works just fine-just drain well!
- Cream Cheese: The creamy base that ties it all together! I’ve tried using low-fat cream cheese once-never again! Just go for the full fat; trust me, it's worth it!
- Cheddar Cheese: Because what's a cheesy dip without cheddar? I prefer sharp cheddar for that extra kick. And yes, I may have put too much in once and ended up with a cheese explosion in my oven. Oops!
- Monterey Jack Cheese: This adds a melty, gooey texture that’s just divine. I always say, the more cheese, the merrier!
- Sour Cream: It adds a nice tanginess that balances the heat from the chiles. Honestly, I can’t imagine this dip without it; once I forgot it and was so disappointed.
- Garlic Powder: Just a pinch will do! It adds that savory depth, but don’t get carried away-I once added too much and it was like a garlic bomb went off in my mouth!
Instructions
- Preheat Your Oven:
- First things first, crank that oven up to 350°F (175°C). As it preheats, I can almost smell the cheesy goodness already and it makes me giddy with excitement! This is also where I usually forget to set the timer, so keep an eye on it!
- Mix the Base:
- In a large mixing bowl, combine softened cream cheese, sour cream, and half of the shredded cheeses. You want it to be creamy and well-blended. Get in there with a spatula-no one wants clumps! This is where I always accidentally fling some cheese out of the bowl. Oops!
- Add the Chiles:
- Now, fold in those glorious Hatch chiles. I usually get a little too excited and dump them all in at once. Just make sure you mix gently so you don’t lose all that creamy goodness. The smell is heavenly at this point!
- Season:
- Add in garlic powder, a pinch of salt, and pepper. I always taste it at this stage to see if it needs more seasoning. Just don’t get too carried away like I did once-yikes! This is the time to adjust flavors according to your preference, so taste, taste, taste!
- Top It Off:
- Spread the mixture into a baking dish and top with the remaining shredded cheese. Seriously, can you ever have too much cheese? I think not! Bake it for about 20-25 minutes until it’s bubbly and golden. Keep an eye on it, as sometimes my cheese gets a little too brown.
- Serve & Enjoy:
- Once it’s out of the oven, let it cool for a few minutes. Then dive in with your favorite tortilla chips or veggies! I love to serve it with extra chiles on the side for those spice enthusiasts. The smell is out of this world-like a warm embrace from your kitchen!
Every time I make this dip, it feels like a little celebration. Even when I spill some on the counter (oops!), it’s all part of the fun! It’s a reminder that cooking is messy but totally worth it, especially when you get to share it with your favorites.
Storage Tips
So, here’s the scoop-if you happen to have leftovers (which is a big if), let it cool completely before transferring it to an airtight container. It’ll keep in the fridge for about 3-4 days, but I wouldn’t recommend freezing it-I once did, and it turned into a weird texture mess when thawed. Just reheat in the oven or microwave, but be careful not to overdo it; I microwaved it once and the sauce separated-so don't do that lol!
Ingredient Substitutions
If you're out of Hatch chiles (gasp!), roasted jalapeños make a decent substitute, though not quite as smoky. I’ve also swapped the cream cheese for Greek yogurt when I ran out, and it worked surprisingly well! Just know it makes it a bit tangier. I once tried adding in some spinach for a “healthier” version, and while it looked pretty, it just didn’t hit the same. Stick with the classics, my friends!
Serving Suggestions
This dip is perfect for game nights, of course, but I love serving it with a side of margaritas for that ultimate fiesta vibe! Or how about some crispy tortilla chips and fresh guacamole alongside? And don’t even get me started on how delish it is with a rom-com playing in the background-just perfection!
Cultural Backstory
So, Hatch chiles are a big deal in New Mexico, and I first discovered them during a road trip there. The flavors blew my mind! They’ve got this unique smokiness that I fell in love with immediately. Since then, I’ve always sought them out for my cooking. This dip connects me to those beautiful memories of exploring new places and tasting new flavors!
As I wrap this up, I can’t help but feel all warm and fuzzy about this dip. It’s more than just a recipe; it’s a tradition of gathering, laughter, and love. I’d love to hear how yours turns out, so feel free to share your versions with me!
Frequently Asked Questions
- → How can I make this dip spicier?
You can definitely add more chiles or even a splash of hot sauce. I recommend tasting a little as you go!
- → What if I don’t have Hatch chiles?
Roasted jalapeños or even green bell peppers can work in a pinch, just adjust the seasoning according to your taste!
- → Can I use pre-shredded cheese?
Sure! Just know it might not melt as smoothly. Once, I used it and ended up with a clumpy mess-so fresh is best!
- → How can I store leftovers without ruining the dip?
Cool it first, then store in an airtight container. Just reheat gently in the oven to keep it creamy!
- → Can I make this dip ahead of time?
Yes! Prep it, refrigerate it, and bake right before serving. Just don’t forget to add a few extra minutes to the baking time!
Cheesy Hatch Green Chile Dip
This cheesy dip is a crowd-pleaser! A warm, comforting blend of cheeses and roasted Hatch green chiles.
Ingredients
Main Ingredients
- Hatch Green Chiles
- Cream Cheese
- Cheddar Cheese
- Monterey Jack Cheese
- Sour Cream
- Garlic Powder
Seasonings & Spices
- Salt
- Black Pepper
Garnish & Toppings
- Extra Hatch Chiles (for serving)
- Cilantro (optional)
Optional Extras
- Diced Jalapeños
- Crumbled Bacon
Instructions
-
1Preheat Your OvenFirst things first, crank that oven up to 350°F (175°C). As it preheats, I can almost smell the cheesy goodness already and it makes me giddy with excitement! This is also where I usually forget to set the timer, so keep an eye on it!
-
2Mix the BaseIn a large mixing bowl, combine softened cream cheese, sour cream, and half of the shredded cheeses. You want it to be creamy and well-blended. Get in there with a spatula - no one wants clumps! This is where I always accidentally fling some cheese out of the bowl. Oops!
-
3Add the ChilesNow, fold in those glorious Hatch chiles. I usually get a little too excited and dump them all in at once. Just make sure you mix gently so you don’t lose all that creamy goodness. The smell is heavenly at this point!
-
4SeasonAdd in garlic powder, a pinch of salt, and pepper. I always taste it at this stage to see if it needs more seasoning. Just don’t get too carried away like I did once - yikes! This is the time to adjust flavors according to your preference, so taste, taste, taste!
-
5Top It OffSpread the mixture into a baking dish and top with the remaining shredded cheese. Seriously, can you ever have too much cheese? I think not! Bake it for about 20-25 minutes until it’s bubbly and golden. Keep an eye on it, as sometimes my cheese gets a little too brown.
-
6Serve & EnjoyOnce it’s out of the oven, let it cool for a few minutes. Then dive in with your favorite tortilla chips or veggies! I love to serve it with extra chiles on the side for those spice enthusiasts. The smell is out of this world - like a warm embrace from your kitchen!
Notes
Personal cooking tip I've learned through experience. Storage advice that actually works from my kitchen trials. Substitution I've tried that worked surprisingly well. Serving suggestion that makes this dish extra special.
Equipment
Please check ingredients for potential allergens and consult a health professional if in doubt.
Nutrition Facts
It is important to consider this information as approximate and not to use it as definitive health advice.
Comments
Leave a Comment