


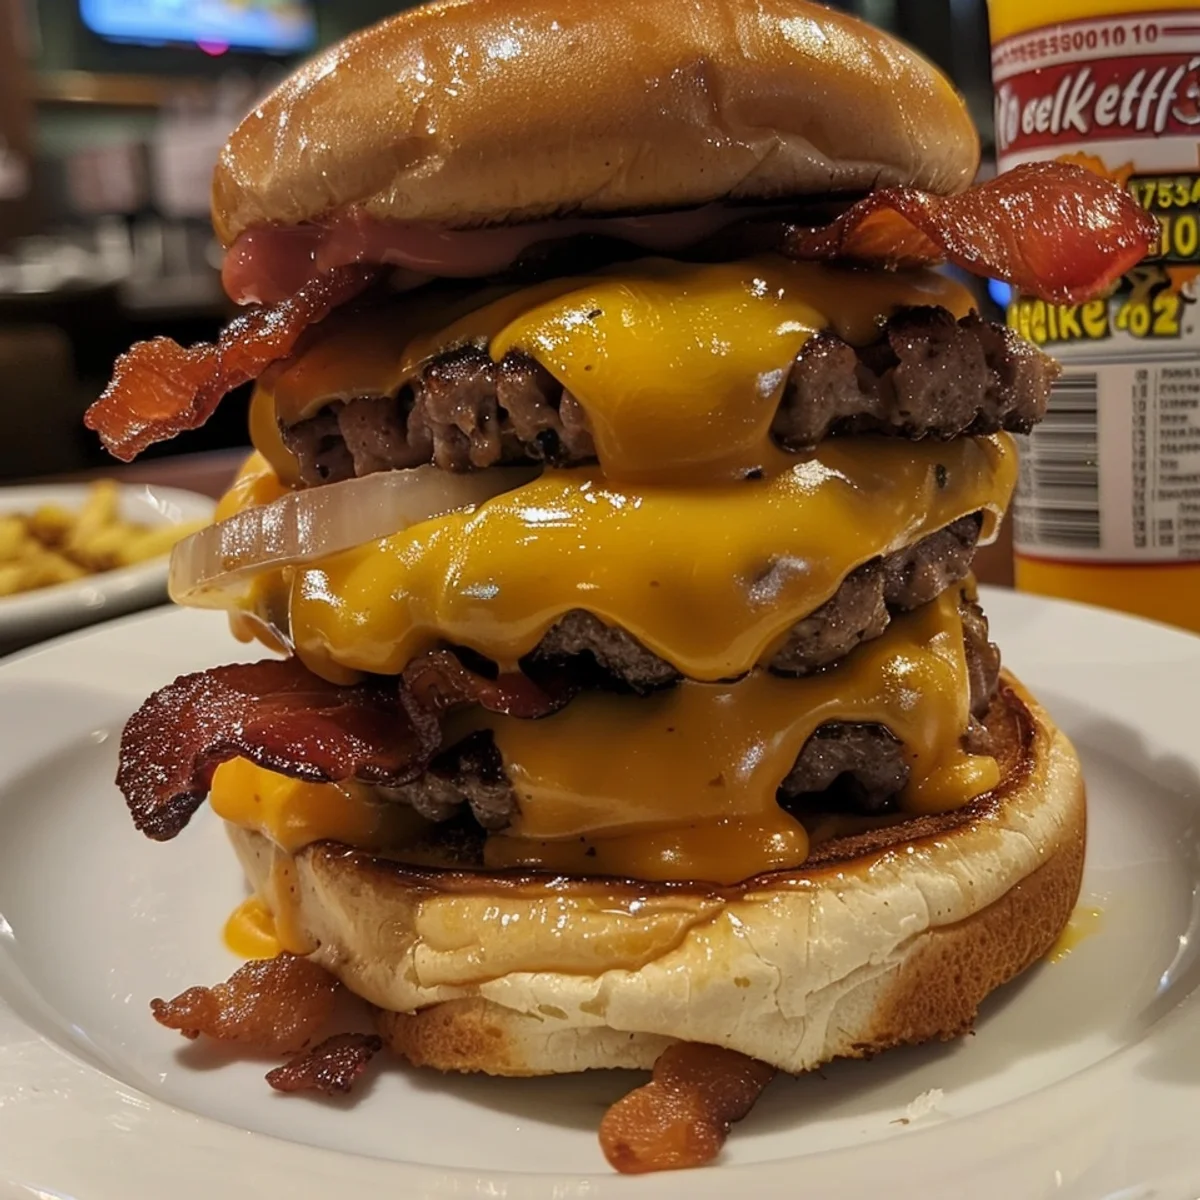
Dive into these delightful bacon cheeseburger mozzarella bombs, packed with flavor and comfort.
I first stumbled upon the idea of Bacon Cheeseburger Mozzarella Bombs during a chaotic evening spent scrolling through late-night recipe videos. You know those nights, when you're exhausted but your stomach is literally screaming for something delicious? Yep, that was me! The moment I saw those gooey, cheesy bites being pulled apart, I knew I had to recreate them in my kitchen, despite knowing full well that my kitchen isn't always what you’d call a ‘serene space.’ I mean, I've had more than a few oops moments, like the time I accidentally knocked over a jar of spices and turned my floor into a colorful disaster zone. But hey, that just means more stories to tell, right?
These bacon cheeseburger mozzarella bombs are special to me because they combine my absolute favorite things: bacon, cheese, and the joy of transforming everyday ingredients into something magical. Plus, they’re perfect for sharing with friends during game nights, or, let’s be real-devouring solo while binge-watching the latest Netflix series! It’s comfort food at its finest, and honestly, they make you feel like you’re being hugged by a blanket of flavor! So, grab your apron (or just a large plate if you’re feeling rebellious), and let’s dive into this cheesy adventure!
Last week, I made these for a small gathering, and let me tell you, my kitchen looked like a tornado hit it! I mixed the ingredients and decided to use a bit too much ground beef. Oops! But hey, the chaos is part of the fun, right? One of my friends even joked that I should open a restaurant called 'Oops, I Cooked It Again'-honestly, wouldn’t that be a hit?
Ingredients
- Ground Beef: The star of the show! I always go for 80/20 for that juicy goodness. Just don’t use the lean stuff; it makes the bombs dry. Eww.
- Bacon: Because, well, bacon. I usually use thick-cut bacon for that crispy bite, but turkey bacon works in a pinch. Tried it once, and it was... fine, but where's the fun in that?
- Shredded Mozzarella: This is what gives those bombs their ooey-gooey magic! Fresh mozzarella is divine, but I’ve had success with pre-shredded too. No judgment here!
- Garlic Powder: Adds that extra zing! I’m all about that garlic life, so I tend to go a bit overboard. Don't be shy-more is more!
- Onion Powder: Such a flavor enhancer. I’ve accidentally swapped this with onion salt before-oops! Just be careful with the salt if you do that.
- Pizza Dough: You could make your own, but I’m a huge fan of the store-bought stuff. Just roll it out and let the fun begin!
Instructions
- Prep the Filling:
- Alright, let’s get started! First, cook your ground beef and bacon in a skillet until they’re lovely and brown. That smell? Oh my gosh, it’s like heaven! Just make sure not to burn them like I did the first time I made these-those charred bits? Not great. Drain the grease, and mix in the garlic and onion powders. Seriously, don't skip this part!
- Mix It Up:
- In a large bowl, combine your beef, bacon, and shredded mozzarella. This is where the magic happens! I always end up with cheese sticking to my fingers-it's a cheesy mess, but one I will never complain about! Just make sure to taste it-don't worry, I won't tell anyone if you sneak a bite!
- Roll It Out:
- Now, take the pizza dough and roll it out on a floured surface. I’ve learned that a little flour goes a long way here to avoid sticky situations (pun intended)! Cut the dough into squares-don’t stress about the size too much; they can be as big or small as you like. Just try to make them even-ish.
- Fill and Seal:
- Time to fill those dough squares with your beefy mixture! Just grab a spoonful and place it in the center, then fold the dough over and pinch it shut. I’ve had more than one “bomb” explode in the oven because I didn’t seal them properly-so make sure to get a good pinch on those edges!
- Bake Away:
- Preheat your oven to 375°F (190°C) and place the bombs seam-side down on a baking sheet. Bake for about 15-20 minutes until they’re golden brown and make your kitchen smell divine! Warning: the cheese will get oozy, so maybe don’t wear your favorite shirt while you check on them-just saying!
- Cool and Serve:
- Let them cool for a few minutes (if you can wait!), then serve with your favorite dipping sauce. I’m a big fan of BBQ or ranch. Honestly, they’re best served fresh, but if you have leftovers, they’re still pretty fantastic the next day. Just don’t microwave them; trust me, I learned that the hard way!
Every time I make these, it feels like a mini celebration-like I’ve mastered a new level in the game of cooking! And even when things go sideways, like when I accidentally let the bacon bits get a little too crispy, it just adds to the charm of these bites. Cooking should be fun, and these bombs definitely bring that energy to my kitchen!
Storage Tips
If you happen to have any leftovers (which is a rarity in my house), let them cool completely before storing them in an airtight container. You can keep them in the fridge for about 3-4 days, but I wouldn’t push it much longer than that. They freeze pretty well too-just pop them in the freezer, and they should hold up for a month. Just remember: don’t microwave them when reheating! I had a sauce explosion once, and I don’t want you to experience that chaos!
Ingredient Substitutions
You can totally switch out the ground beef for turkey or chicken if you’re feeling healthy-I've done it and it works surprisingly well! Just add a sprinkle of extra seasoning. I also sometimes swap mozzarella for cheddar when I’m feeling adventurous, and honestly, it brings a whole new flavor dimension. But, let’s be real, you can’t go wrong with cheese!
Serving Suggestions
These bombs pair perfectly with a side of crispy fries or a fresh salad. And if you’re in for a treat, grab some ranch or BBQ sauce for dipping! Honestly, they’re the star of the show when it comes to game night snacks-add a soda or your favorite beer, and you’ve got the perfect cozy evening ahead. Oh, and don’t forget a good rom-com to binge while you munch!
Cultural Backstory
While these bacon cheeseburger mozzarella bombs don’t have a specific cultural backstory, they represent the fusion of classic American flavors that I grew up loving. My family has always been about big flavors and hearty meals, and this recipe captures that spirit perfectly. I learned about the power of transforming everyday ingredients into something special from my grandma, who always said, "Food is love, and love is food!"
At the end of the day, these bacon cheeseburger mozzarella bombs bring me so much joy-and every bite is a reminder of the fun and chaos of cooking. I can’t wait for you to try them and see how they turn out in your kitchen! And hey, if you have any fun stories or twists, share them with me!
Frequently Asked Questions
- → Can I use different types of cheese?
Absolutely! I’ve used cheddar and even pepper jack for a spicy twist. Just remember, the more cheese, the merrier!
- → What if I don’t like bacon?
No problem! You can skip the bacon entirely or replace it with cooked veggies for a plant-based version. It still works, trust me!
- → Can I bake these instead of frying?
Yes! Baking is what I usually recommend. Just be sure to check them often so they don’t burn, and keep the oven preheated!
- → How do I store leftovers?
Once cooled, store them in an airtight container in the fridge for 3-4 days, or freeze them for up to a month!
- → Can I make these ahead of time?
Totally! You can assemble them and keep them in the fridge before baking. Just add a few extra minutes to the baking time!
Bacon Cheeseburger Mozzarella Bombs
Dive into these delightful bacon cheeseburger mozzarella bombs, packed with flavor and comfort.
Ingredients
Main Ingredients
- Ground Beef
- Bacon
- Shredded Mozzarella
- Pizza Dough
Seasonings & Spices
- Garlic Powder
- Onion Powder
Garnish & Toppings
- BBQ Sauce
- Ranch Dressing
Optional Extras
- Fresh Jalapeños
- Chopped Spinach
Instructions
-
1Prep the FillingAlright, let’s get started! First, cook your ground beef and bacon in a skillet until they’re lovely and brown. That smell? Oh my gosh, it’s like heaven! Just make sure not to burn them like I did the first time I made these - those charred bits? Not great. Drain the grease, and mix in the garlic and onion powders. Seriously, don't skip this part!
-
2Mix It UpIn a large bowl, combine your beef, bacon, and shredded mozzarella. This is where the magic happens! I always end up with cheese sticking to my fingers - it's a cheesy mess, but one I will never complain about! Just make sure to taste it - don't worry, I won't tell anyone if you sneak a bite!
-
3Roll It OutNow, take the pizza dough and roll it out on a floured surface. I’ve learned that a little flour goes a long way here to avoid sticky situations (pun intended)! Cut the dough into squares - don’t stress about the size too much, they can be as big or small as you like. Just try to make them even-ish.
-
4Fill and SealTime to fill those dough squares with your beefy mixture! Just grab a spoonful and place it in the center, then fold the dough over and pinch it shut. I’ve had more than one “bomb” explode in the oven because I didn’t seal them properly - so make sure to get a good pinch on those edges!
-
5Bake AwayPreheat your oven to 375°F (190°C) and place the bombs seam-side down on a baking sheet. Bake for about 15-20 minutes until they’re golden brown and make your kitchen smell divine! Warning: the cheese will get oozy, so maybe don’t wear your favorite shirt while you check on them - just saying!
-
6Cool and ServeLet them cool for a few minutes (if you can wait!), then serve with your favorite dipping sauce. I’m a big fan of BBQ or ranch. Honestly, they’re best served fresh, but if you have leftovers, they’re still pretty fantastic the next day. Just don’t microwave them, trust me, I learned that the hard way!
Notes
If you overfill the bombs, they’ll explode in the oven-just like mine did that one time! A great tip is to put some cheese in the middle for that extra melty goodness. Don’t skip letting them cool a bit before diving in; you’ll save your mouth from a cheesy disaster!
Equipment
Please check ingredients for potential allergens and consult a health professional if in doubt.
Nutrition Facts
It is important to consider this information as approximate and not to use it as definitive health advice.
Comments
Leave a Comment